Zero Toe Jam & Blister Solution for Downhill Hiking: 3 Heel-Lock Boot Lacing Methods & Double Sock Layering Rules
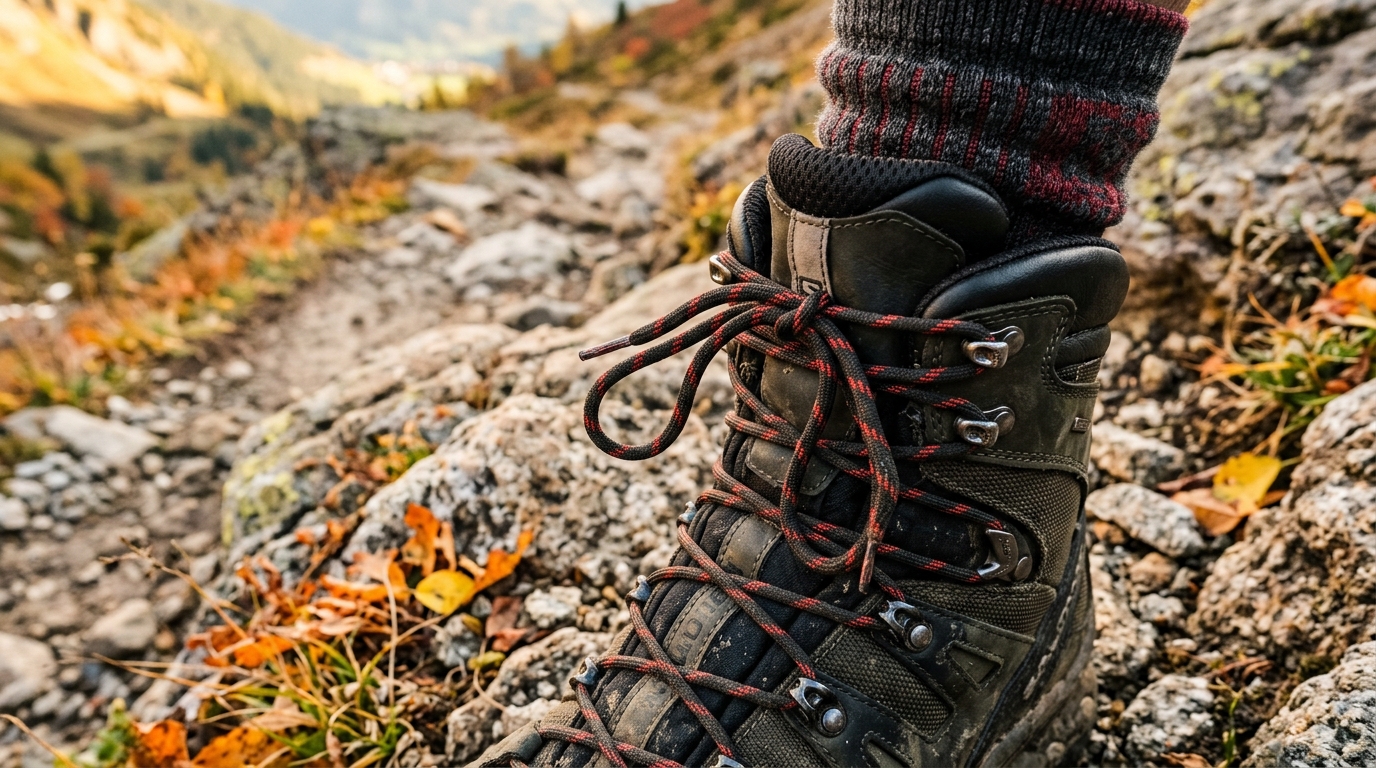
- 1Biomechanical analysis of downhill slope impact leading to toe bang (subungual hematoma) and heel lift friction (severe blisters).
- 2Step-by-step masterclass on Window Lacing and Double Heel-Lock knots that anchor the heel firmly into the cup without compressing the instep.
- 3The ultimate double-sock layering system (CoolMax liner + merino wool terry) and the 10-second hotspot intervention protocol for painless descents.
1. [Comparative Matrix] 3 Major Downhill Foot Pain Types: Causes vs Solutions
| Type | Primary Pain Zone | Biomechanical Cause | Symptoms & Risks | Custom Lacing & Sock Solution |
|---|---|---|---|---|
| Type 1 | Toe Tips (Big & Index Toes) | Forward foot slippage due to steep downhill descent | Black toenail (subungual hematoma), lifted nails, severe jamming | Upper ankle Heel-Lock knot + insole heel cup tapping |
| Type 2 | Heel / Achilles Tendon | Heel slippage against the boot lining during propulsion | Friction heat causes skin shearing and painful deep blisters | Double-sock system (liner + wool) + pre-emptive hotspot taping |
| Type 3 | Top of Instep (Navicular Bone) | Over-tightening lower laces to stop forward foot sliding | Nerve compression causing numbness, foot fatigue, poor circulation | Window Lacing (box lacing to skip high-pressure zones) |
2. 🔒 Step-by-Step Practical Heel-Lock Lacing Technique
Heel Tapping & Seating
After stepping into the boot, tap the heel firmly on the ground 3 to 4 times to seat your heel completely against the rear heel cup counter.
Zone 1 Instep Independent Tension
Lace across the forefoot and midfoot with standard criss-cross tension, leaving enough room for natural blood circulation without excessive clamping.
Surgeon's Knot at Ankle Flex Point
At the transition eyelet between the instep and ankle shaft, twist the laces twice to create a friction lock that isolates lower tension from upper tension.
Double Loop Heel-Lock Engagement
Run laces straight up to the top eyelets to form vertical loops, cross opposite laces through these loops, and pull downward and back. This pulls the heel directly into the heel counter without crushing the instep.
3. 🧦 Double Sock Layering System: Eliminating Friction & Moisture
- Layer 1 Inner Liner Sock: Wear an ultra-thin CoolMax, silk, or polypropylene liner that sits flush against the skin, instantly moving sweat away and absorbing base skin friction.
- Layer 2 Outer Cushion Sock (Merino Wool Terry): Layer a medium-to-thick merino wool sock with dense underfoot terry loops over the liner to provide cushioning and absorb movement against the boot lining.
- Friction Shift Principle: Friction is relocated between the two sock layers rather than between skin and wool, effectively reducing blister formation to zero.
4. 💡 4 Veteran Trailmaster Pro Tips for Downhill Foot Protection
- Trim Toenails 2 Days in Advance: Cutting nails right before a hike causes sensitive raw skin. Trim straight across 48 hours prior, leaving 1mm of white edge.
- The 10-Second Hotspot Rule: The moment you feel a warm spot or subtle sting on your heel or ball of foot, stop immediately and apply blister tape or hydrocolloid dressing.
- Re-tighten Laces at the Summit: Before starting your descent, untie loose laces and lock them down firmly using the Heel-Lock technique to eliminate forward foot shifting.
- Pack an Extra Pair of Clean Socks: Swapping into fresh, dry socks during lunch or before descent reduces friction coefficients and restores foot comfort by 50%.
Common Rookie Mistakes & Proven Solutions
Smart Buyer's Guide: Hiking Boots, Insoles & Merino Socks
- •❌ Everyday 100% cotton socks (absorb sweat and guarantee painful friction blisters)
- •❌ Buying exact sneaker size (always size up 0.5~1 size to prevent toe bruises on descents)
Hikers wanting instant blister-free comfort on day hikes
Rocky peak climbers and all-season mountain trekkers
- ✓🔍 1 finger width (approx. 1cm) toe room with thick hiking socks
- ✓🔍 High-friction sticky rubber outsole compound rating
- ✓🔍 Torsional rigidity shank to protect arches from twisting
Interactive Trail Safety Checklist
Tap each item before departing to verify readiness.
Generational Hiking Guide Series
Kids Trail Gamification & Scavenger Hunt
3 rules to turn early whining into joyful nature exploration
Couples Hiking Date & 10-Min Myth Guide
Pacing strategies, secret comfort gear, and scenic date peaks
4050 Spine Decompression & Fat Burn
Protecting lumbar discs while maximizing visceral fat loss
Hiking with Elderly Parents & Medical Kit
Barrier-free boardwalks, anti-shock poles, and medical safety