8-Hour Piping Hot Water at -20°C: Alpine Vacuum Thermos Copper Coating & Zero Hydration Tube Freezing Formula
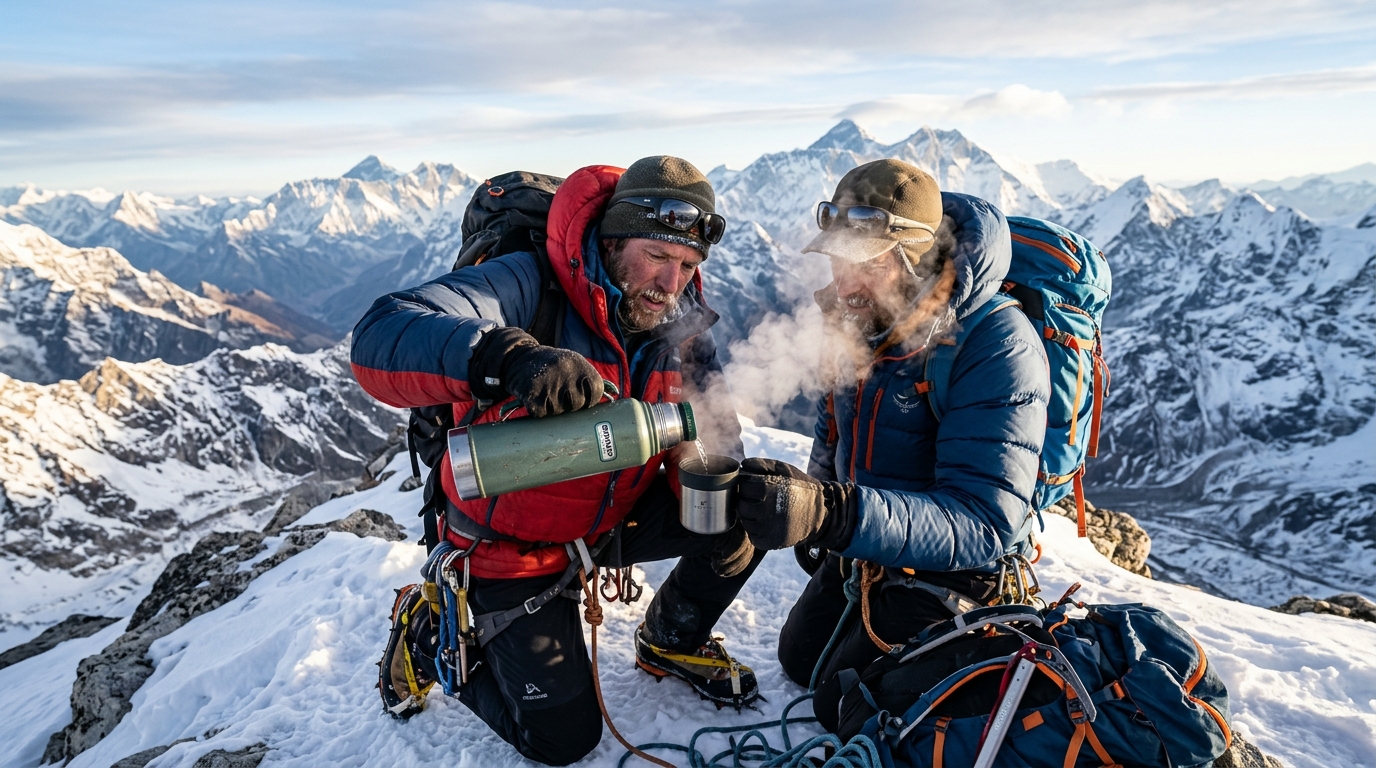
- 1Thermodynamic analysis of sub-zero conduction, convection, and radiation heat loss in alpine vacuum flasks featuring internal copper reflective coating.
- 2The 3-minute pre-heating golden formula ensuring 90°C+ boiling temperatures for summit instant ramen and warm drinks in sub-zero ridge conditions.
- 3Features winter backcountry hydration bladder techniques including the Back-Blowing air push and neoprene insulation to permanently stop tube freeze-ups.
1. [Thermodynamic Analysis] Everyday Thermos vs Dedicated Alpine Vacuum Flasks
- Internal Copper/Silver Radiation Barrier: While ordinary vacuum bottles block conduction and convection, specialized alpine flasks (Thermos Mountain FFX, Stanley Master) coat the inner vacuum wall with copper/silver to reflect 90%+ of radiant infrared heat back inward.
- Insulated Dual-Silicone Stopper: Over 60% of flask heat loss occurs through the lid assembly rather than the metal body. Dense insulated core plugs combined with dual silicone gaskets seal against gale-force arctic drafts.
- Cold-Bridge Ground Protection: Silicone bottom bumper rings eliminate direct conductive chill transfer when resting the metal flask on frozen rock slabs or glacial ice.
2. [Comparison Matrix] 3 Alpine Water Storage Systems & Sub-Zero Freezing Risk
| Storage System / Architecture | Water Temp After 6h at -15°C | Freezing Risk & Characteristics | Recommended Application & Strategy |
|---|---|---|---|
| Dedicated Alpine Flask (Pre-Heated) | 85°C to 92°C (Boiling hot) | ❄️ 0% (Fully Freeze-Proof) | Summit instant ramen, hot coffee, emergency hypothermia recovery |
| Standard Lifestyle Flask | 50°C to 65°C (Lukewarm) | ❄️❄️ 30% (Rapid outer shell cool) | Mild spring/autumn hikes; noodles will not cook properly in winter |
| Hydration Pack (Unprotected) | 0°C (Ice block in hose) | ❄️❄️❄️❄️❄️ 100% (Instant lockup) | Bite valve and exposed hose freeze solid within 30 minutes under -5°C |
3. [Winter Pro Manual] 3-Step Master Protocol for Sub-Zero Boiling Water
3-Minute Boiling Water Pre-Heating
Fill the flask 1/3 full with rolling boiling water for 3 minutes to warm the inner stainless steel lining before dumping and filling to the brim with fresh 100°C boiling water.
Back-Blowing Hydration Tube Technique
After sipping from a hydration pack in freezing weather, immediately blow air forcefully back into the bite valve to push residual hose water into the insulated core reservoir inside your pack.
Core Center Backpack Packing
Never carry your vacuum flask in an external mesh side pocket; bury it in the dead center of your backpack wrapped in a spare down jacket to extend heat retention by 3+ hours.
Common Rookie Mistakes & Proven Solutions
Smart Buyer's Guide: Trail Nutrition & Electrolyte Hydration
- •❌ Relying only on sugary candies (causes rapid blood sugar spikes and crashes)
- •❌ Chugging plain water while sweating heavily (causes hyponatremia and leg cramps)
Day hikers preventing dehydration and muscle fatigue
Endurance thru-hikers and long-distance ridgeline trekkers
- ✓🔍 25-30g carbs and 100-200mg sodium per energy packet
- ✓🔍 Isotonic stomach-friendly osmolarity formula
- ✓🔍 Easy-tear packaging operable with one hand or gloves
Essential Hiking & Trail Glossary
A high-end thermal technology where vacuum cavity walls are electro-plated with copper to physically reflect radiant infrared heat waves
A winter alpine mountaineering technique of blowing air into a hydration bite valve to purge standing water from the exposed hose back into the warm pack body
Interactive Trail Safety Checklist
Tap each item before departing to verify readiness.
Generational Hiking Guide Series
Kids Trail Gamification & Scavenger Hunt
3 rules to turn early whining into joyful nature exploration
Couples Hiking Date & 10-Min Myth Guide
Pacing strategies, secret comfort gear, and scenic date peaks
4050 Spine Decompression & Fat Burn
Protecting lumbar discs while maximizing visceral fat loss
Hiking with Elderly Parents & Medical Kit
Barrier-free boardwalks, anti-shock poles, and medical safety